Illustrator and Photoshop Fundamentals
Digital Graphic Arts
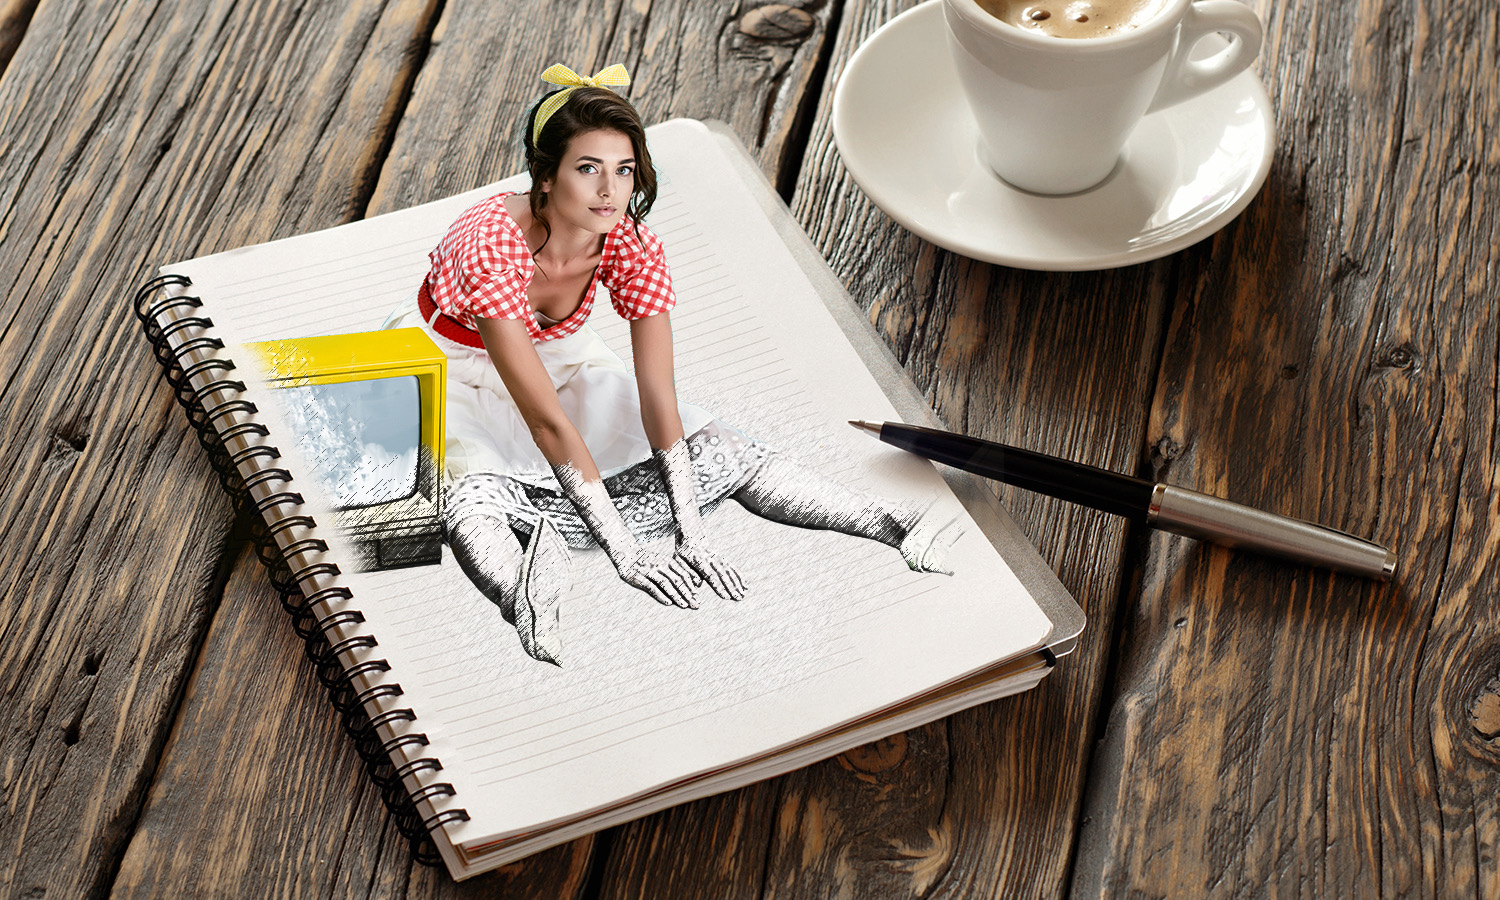
All images on this page was done by past students.
PEXELS.COM
Free stock images
")

In this co-op class we will focus on mastering the fundamental skills needed to proficiently navigate and utilize both software programs, with an emphasis on using the Pen Tool for illustration creation in Illustrator and manipulation and compositing techniques in Photoshop to create mind blowing designs.


Vector Graphics
You’ll learn about shapes, paths, anchor points, and how to manipulate them to create intricate designs

Typography
You’ll learn about kerning, leading, tracking, and other typographic principles to create visually appealing text elements.

Illustration Techniques
You’ll learn about drawing tools, brushes, layers, and other techniques to bring your creative vision to life

Image Editing
You’ll learn how to adjust colors, retouch photos, remove backgrounds, and apply filters to enhance or alter images.

Photo Manipulation
You’ll learn about layers, masks, blending modes, compositing multiple images, creating surreal effects, and seamlessly blending elements together.

Graphic Design
You’ll learn how to create layouts, design logos, posters, and other visual assets using a combination of text, shapes, and images.


BECOMING A DESIGNER
Students will learn how to apply their knowledge to become adept graphic designers, employing advanced techniques and strategies to produce high-quality designs

Class Lessons
Photoshop Tools Tutorial
Illustrator Tools Tutorial
Composite
Photoshop
Instructions for Creating A Folder
Step 1: Create a Folder on Your Desktop
- Create a New Folder:
- Go to your desktop.
- Right-click on an empty space.
- Select New > Folder from the context menu.
- Name the folder DGA25-26.
- Organize Your Work:
- All of your class projects, practice files, and homework should be saved in this folder. This will help you keep everything organized and easily accessible throughout the course.

Instructions for Saving Files as JPGs and Organizing Your Work
Step 2: Saving Files as JPGs in Photoshop
- Save Your Work:
- After finishing your design in Photoshop, go to File > Save As.
- A dialog box will appear.
- Navigate to the DGA25-26 folder you created on your desktop.
- Save as a PSD (Photoshop Document):
- First, save your file as a PSD to preserve all layers and editing capabilities.
- Name your file (e.g., Project1.psd).
- Click Save.
- Export as a JPG:
- After saving as a PSD, go to File > Export > Export As.
- In the dialog box, select JPEG from the format options.
- Adjust the quality settings if needed (e.g., set to High for better quality).
- Click Export.
- Save the JPG version in the DGA25-26 folder.
- Name your file appropriately (e.g., Project1.jpg).
- Click Save.
Step 3: Saving Files as JPGs in Illustrator
- Save Your Work:
- After completing your design in Illustrator, go to File > Save As.
- Navigate to the DGA25-26 folder on your desktop.
- Save as an AI (Adobe Illustrator) File:
- First, save your file as an AI file to preserve all vector information and editing capabilities.
- Name your file (e.g., Project1.ai).
- Click Save.
- Export as a JPG:
- After saving as an AI file, go to File > Export > Export As.
- In the dialog box, select JPEG from the format options.
- Choose your preferred quality settings.
- Click Export.
- Save the JPG version in the DGA25-26 folder.
- Name your file appropriately (e.g., Project1.jpg).
- Click Save.
Final Check:
- Open the DGA25-26 folder on your desktop to ensure all your files are saved correctly.
- You should see your PSD/AI and JPG files organized within the folder.
- Keeping your files well-organized will help you manage your projects efficiently throughout the course.
If you have any questions or run into issues, feel free to ask through Google Classroom!


")
Contact Tutor
classes@daniellesmallwood.com